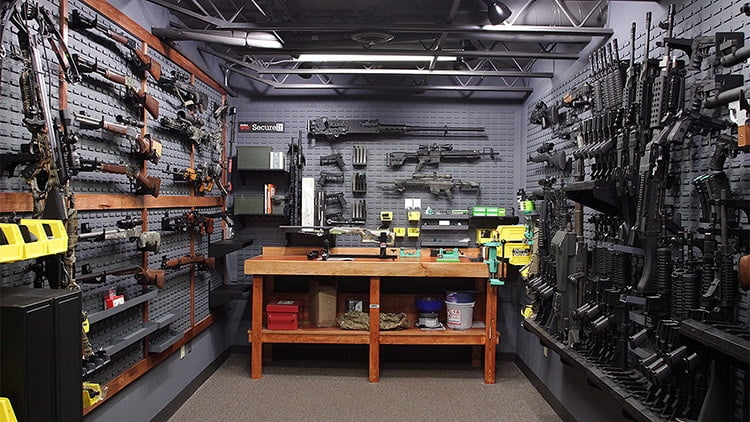
Diy in-wall gun cabinet: how to make a secure firearm storage solution

Owning firearms comes with the responsibility of safeguarding them, especially from unauthorized access. A well-constructed in-wall gun cabinet provides a discreet and secure storage solution, blending seamlessly into your home's architecture while protecting your valuable possessions. This guide will provide a comprehensive overview of the process, from planning to installation, allowing you to create a robust and secure storage solution for your firearms.
I. Planning and Design:
1. Location Selection:
Accessibility: Choose a location easily accessible to you but less obvious to potential intruders. A wall in a bedroom, closet, or behind a bookshelf could be ideal.
Structural Integrity: Ensure the wall chosen can support the weight of the cabinet and its contents. Walls with studs spaced 16 inches apart are preferable.
Electrical and Plumbing: Avoid locations near electrical outlets, plumbing, or HVAC vents to minimize potential hazards.
2. Cabinet Size and Configuration:
Firearms Collection: Determine the number and size of the firearms you intend to store to calculate the necessary internal space.
Storage Options: Consider additional storage needs like ammunition, cleaning supplies, or accessories.
Concealment: Ensure the cabinet's external dimensions blend with the surrounding wall and maintain a low profile.
3. Materials:
Cabinet Frame: Choose a sturdy material like 1/4-inch plywood or solid wood for the cabinet's frame.
Door: Solid wood, metal, or a combination of both offers excellent security. Consider adding a lockable hinge system for added protection.
Shelving: Adjustable shelves made of wood or metal accommodate different firearm sizes.
Fasteners: Use heavy-duty screws and fasteners suitable for the wall material.
4. Security Features:
Lock: Install a high-quality, tamper-resistant lock with a solid deadbolt. Consider a keyless entry system for convenient access.
Hinges: Use concealed hinges to prevent prying or forced entry.
Reinforcements: Integrate steel plates or mesh reinforcement within the cabinet for enhanced security.
Alarm System: Consider integrating a motion sensor or alarm system for added protection.
II. Construction:
1. Framing the Cabinet:
Cut the Panels: Accurately cut the plywood or wood panels for the cabinet's frame and shelves according to your measurements.
Assemble the Frame: Attach the panels using wood glue and screws. Ensure all joints are strong and secure.
Add Internal Features: Install the shelves, compartments, and any other internal features as per your design.
2. Building the Door:
Cut the Door Panel: Cut the chosen material for the door to the desired size and shape.
Reinforcements: Attach steel plates or mesh reinforcement to the inside of the door for added strength.
Hinges: Install the concealed hinges on the door and cabinet frame.
Lock Installation: Securely mount the lock on the door and ensure it functions correctly.
3. Finishing:
Sanding and Priming: Sand the cabinet surfaces for a smooth finish and apply primer for a durable paint base.
Painting or Staining: Apply paint or stain to match the surrounding wall for a seamless appearance.
III. Installation:
1. Wall Preparation:
Identify Studs: Locate the wall studs using a stud finder.
Mark the Cabinet Area: Outline the cabinet's position on the wall using a pencil.
Cut the Wallboard: Carefully cut the wallboard along the outlined area using a utility knife or drywall saw.
2. Installing the Cabinet:
Attaching the Frame: Securely attach the cabinet frame to the wall studs using heavy-duty screws or fasteners.
Level and Secure: Ensure the cabinet is level and plumb before fully securing it to the wall.
Attaching the Door: Install the door on the hinges and test its operation.
3. Wallboard Patching:
Repairing the Opening: Use drywall patch or compound to fill the wallboard opening created for the cabinet.
Texturing and Painting: Smooth and texture the patched area to blend seamlessly with the surrounding wall.
Final Touches: Apply paint or stain to match the surrounding wall and complete the installation.
IV. Security Considerations:
1. Lock Security:
High-Quality Lock: Choose a lock with a robust deadbolt mechanism and a tamper-resistant design.
Regular Maintenance: Regularly inspect and lubricate the lock mechanism to ensure it functions correctly.
Lock Change: Change the lock combination or keys regularly to prevent unauthorized access.
2. Concealment:
Camouflage: Ensure the cabinet blends with the surrounding wall and is not easily noticeable.
False Fronts: Consider using a bookshelf, picture frame, or other decorative elements as a false front to further conceal the cabinet.
3. Environmental Protection:
Moisture Control: Avoid locations prone to excessive moisture to prevent damage to the cabinet and firearms.
Temperature Regulation: Maintain a stable temperature within the cabinet to avoid extreme conditions that could affect firearms.
V. Additional Tips:
Professional Assistance: For complex installations or unique security features, consult a qualified contractor or locksmith.
Firearm Safety: Always treat firearms with respect and adhere to all safety protocols.
Local Regulations: Consult local regulations regarding the legal requirements for storing firearms.
Conclusion:
A well-constructed in-wall gun cabinet offers a secure and discreet solution for firearm storage, providing peace of mind and protecting valuable assets. By carefully planning, constructing, and installing the cabinet according to the guidelines provided, you can create a robust and reliable storage solution for your firearms, ensuring their safety and compliance with legal requirements. Remember to prioritize security, concealment, and environmental protection when designing and installing the cabinet, and always adhere to responsible firearm handling practices.
0 Response to "Diy in-wall gun cabinet: how to make a secure firearm storage solution"
Post a Comment