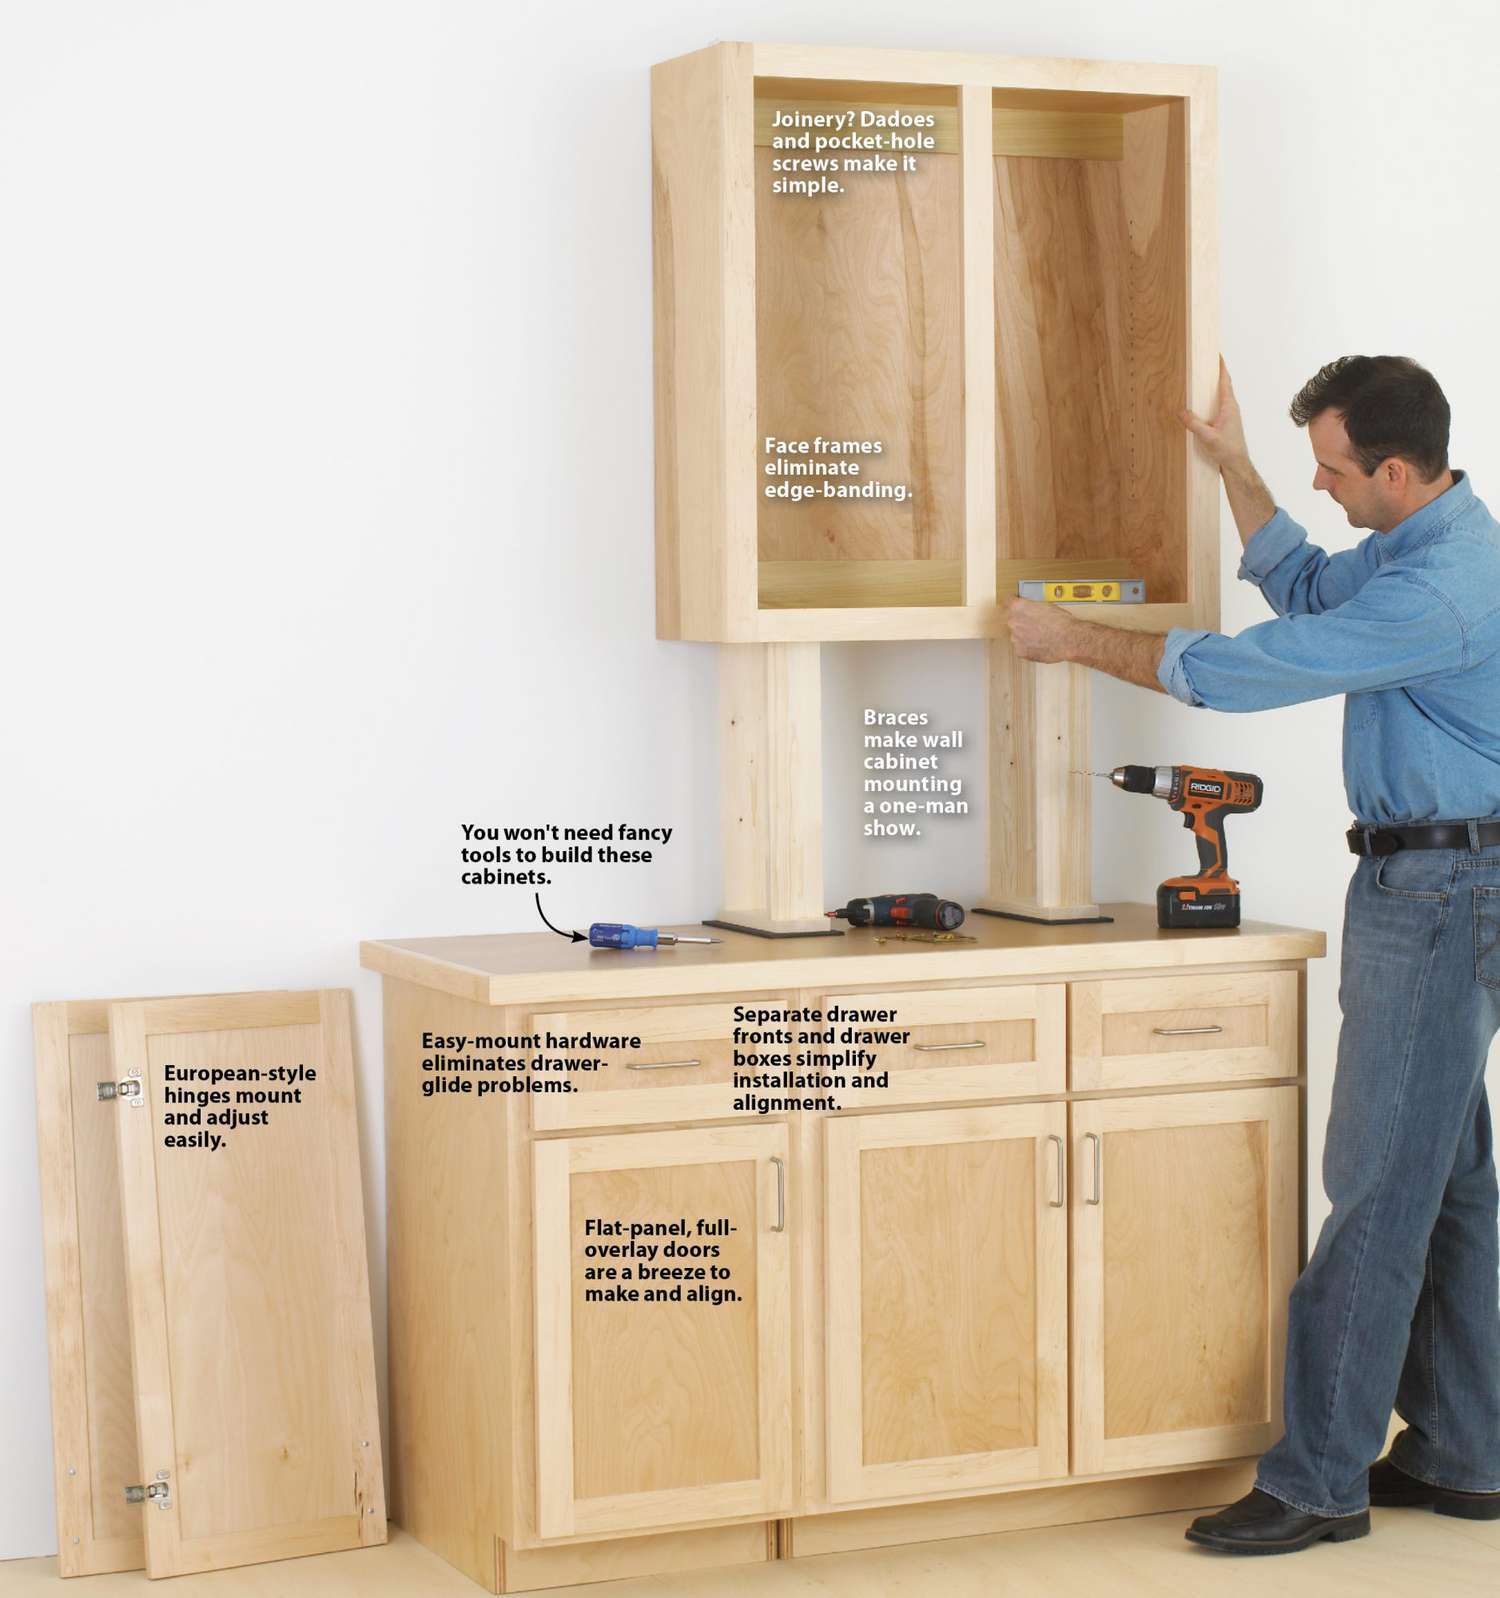
DIY Bedside Cabinet Plans for Every Skill Level

DIY Bedside Cabinet Plans for Every Skill Level
Crafting a bedside cabinet isn't just about building furniture; it's about infusing your bedroom with a personal touch. Whether you're a seasoned woodworker or just starting your DIY journey, there's a bedside cabinet project waiting for you. This guide will walk you through various plans, each tailored to different skill levels, ensuring you can build the perfect bedside companion.
Beginner-Friendly: The Simple Shelf Cabinet
This project is perfect for those new to woodworking. It involves minimal cuts, straightforward assembly, and basic tools. The result is a functional and charming bedside cabinet that complements any bedroom decor.
Materials:
- Plywood or MDF boards (for the shelves and sides)
- Wood glue
- Wood screws
- Sandpaper (various grits)
- Paint or stain (optional)
Tools:
- Measuring tape
- Pencil
- Saw (hand saw or jigsaw)
- Drill
- Screwdriver
- Clamps
Instructions:
- Cut the wood according to your desired dimensions.
- Use wood glue to secure the shelves to the sides.
- Pre-drill holes for screws and then attach the shelves securely.
- Sand the cabinet for a smooth finish.
- Apply paint or stain (optional).
Remember to take your time, measure twice, and enjoy the process!
Intermediate: The Classic Drawers Cabinet
Stepping up the challenge, this project involves constructing drawers and incorporating sliding mechanisms. It's a great opportunity to learn about joinery techniques and work with a wider range of tools.
Materials:
- Solid wood boards (for the frame, drawers, and drawer fronts)
- Drawer slides
- Wood glue
- Wood screws
- Sandpaper (various grits)
- Paint or stain (optional)
Tools:
- Measuring tape
- Pencil
- Saw (hand saw or jigsaw)
- Drill
- Screwdriver
- Clamps
- Router (optional)
- Dado blade (optional)
Instructions:
- Cut the wood for the frame and drawer pieces.
- Construct the drawer boxes using dovetail or rabbet joints (optional).
- Attach the drawer slides to the drawer boxes and the cabinet frame.
- Install the drawer fronts and handle.
- Sand the cabinet and apply paint or stain (optional).
For this project, consider investing in a router to create dovetail joints for a more professional look and stronger construction.
Advanced: The Architectural Style Cabinet
This project takes inspiration from architectural styles, adding intricate details and possibly incorporating glass panels. It requires a skilled hand, precision cuts, and a deeper understanding of woodworking techniques.
Materials:
- High-quality solid wood boards (for the frame, shelves, and drawers)
- Glass panels (optional)
- Molding and decorative trim
- Wood glue
- Wood screws
- Sandpaper (various grits)
- Paint or stain (optional)
Tools:
- Measuring tape
- Pencil
- Saw (hand saw, jigsaw, or table saw)
- Drill
- Screwdriver
- Clamps
- Router
- Dado blade
- Miter saw (optional)
Instructions:
- Carefully plan the design, including intricate details and the incorporation of glass panels.
- Cut the wood for the frame and drawer pieces, making precise cuts with the table saw or miter saw.
- Create elaborate joinery techniques for a robust and aesthetically pleasing construction.
- Attach the drawer slides, install drawer fronts, and add decorative trim.
- Sand the cabinet thoroughly and apply paint or stain (optional).
This project is a testament to your woodworking skills and allows you to create a true masterpiece that elevates your bedroom's design.
Remember, no matter your skill level, building your own bedside cabinet is an immensely rewarding experience. It allows you to personalize your bedroom and create a unique piece that reflects your style and craftsmanship. So, gather your tools, choose your plan, and embark on your DIY adventure. Your bedroom will thank you!
0 Response to "DIY Bedside Cabinet Plans for Every Skill Level"
Post a Comment